How to make a picture from a description
The fastest way to understand image generation is to make your first picture right now, and only then work out how it works. So that's what we'll do: by the end of this chapter you'll have a finished image and a sense of what to do next.
In one minute: your first result
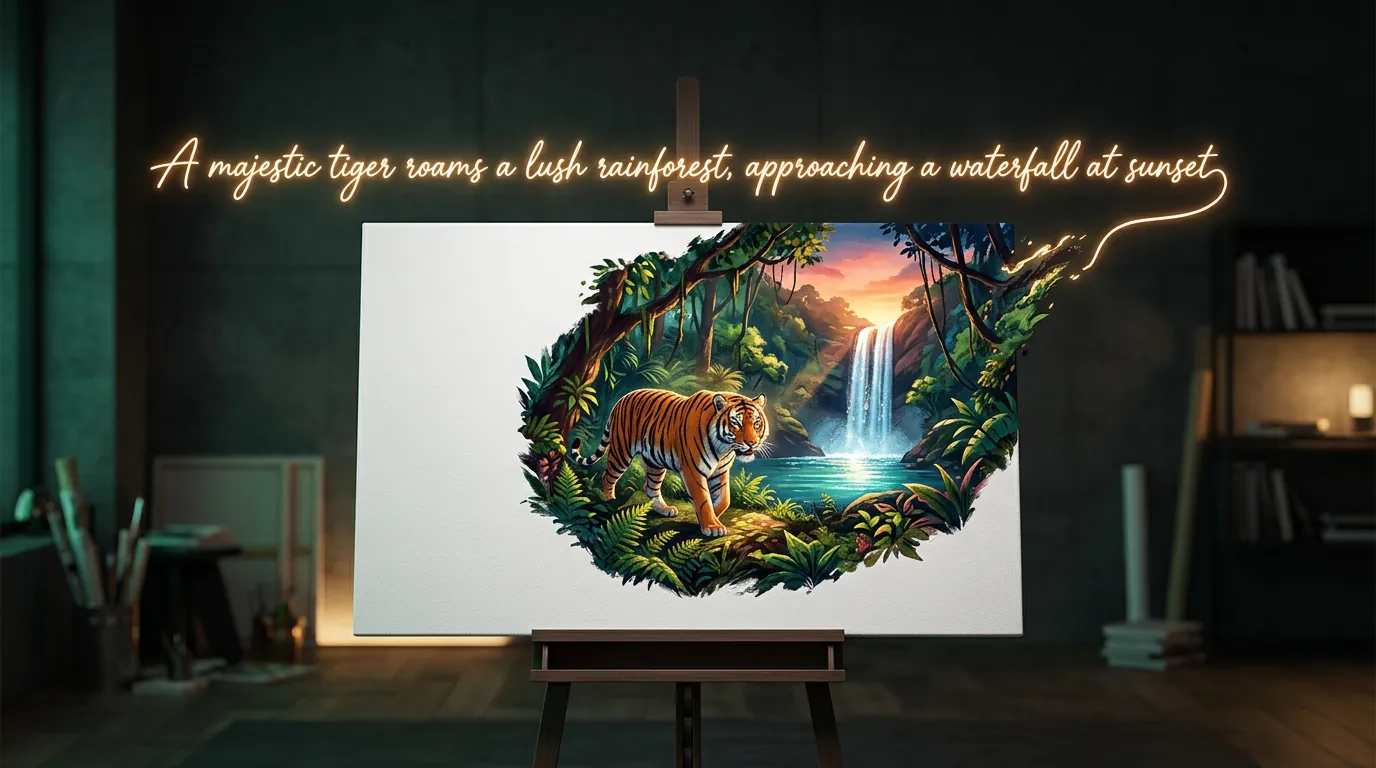
Every "artist" neural network works the same way: you write what you want to see — it draws. It goes by various names: "drawing from text", text-to-image, generation from a description. The essence is the same.
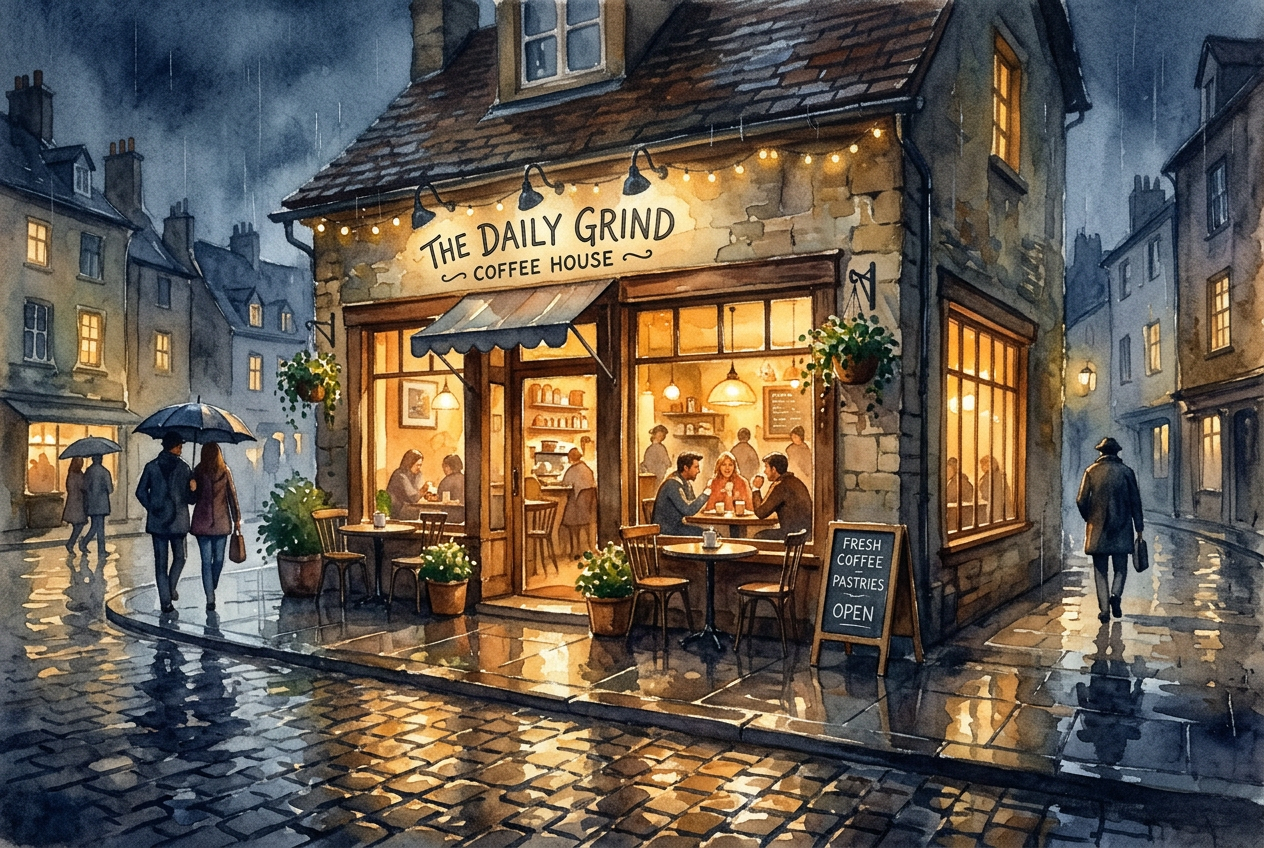
Try it right here. Don't overcomplicate it — for a start one sentence is enough, for example "a cosy coffee shop on a rainy evening, warm light, watercolour".
Notice what happened. You didn't pick brushes, hunt for references or open Photoshop. You described — and got it. All the craft from here on comes down to describing more precisely.
What a good description contains
Beginners write "a beautiful girl" and get upset that the result is different every time. Experienced users describe a picture as if dictating it to a person who can't see you and isn't guessing. It helps to keep four layers in mind:
- Subject — what or who is in the picture. "A ginger cat".
- Action and setting — what's happening and where. "…sitting on a windowsill, a night city outside".
- Style — photograph, watercolour, 3D render, anime, oil. "…in the style of a film still".
- Frame details — light, angle, mood, colours. "…soft warm light, side view, cosy".
Put them together and instead of a lottery you get a controllable result. The next chapter, "How to write prompts", is devoted entirely to this; for now it's enough to grasp the principle: the more specific the input, the more predictable the output.
Text isn't the only input
"Make a picture" doesn't always mean "from scratch". Often you already have an image and need to change it — that's generation too, just with something other than text as the starting point:
- From a photo — upload your photo and ask to change the style, the background or the clothes.
- From a sketch — draw a rough scheme by hand, the network turns it into a clean illustration.
- By parts — select a piece of a finished picture and redraw only it (replace the sky, remove an unwanted object, swap a face).
If your task is closer to editing a finished photo than drawing from scratch, head to the section on working with photos. If you want to create — let's continue.
Why two people get different results
The same description in the same service almost never gives an identical picture — and that's not a bug. Under the hood there's an element of randomness (called the seed), plus the chosen model matters: one pulls toward photorealism, another toward illustration. So treat the first result as a draft: generate a few variants, pick the closest, refine the description, repeat. Two or three iterations and the picture "ripens".
Checklist: “9 beginner mistakes that make your picture come out wrong”
What to cut from a prompt, which words break the result and why “4k, ultra detailed” hurts more often than it helps.
Входит в подписку
What's next
You made your first picture and saw that the quality of the result is the quality of the description. The logical next step is to learn to describe like a pro: which words work, how to set style and light, how to fix typical artefacts.
You can repeat every example in the Twelver chat: generation is built right into the conversation — you type like an ordinary message, the picture comes back in reply. A few generations are free after signing up.
Try it yourself
Everything in this guide runs inside Twelver
One chat for text, images, video, music and voice — no separate services or subscriptions.
Open Twelver chat